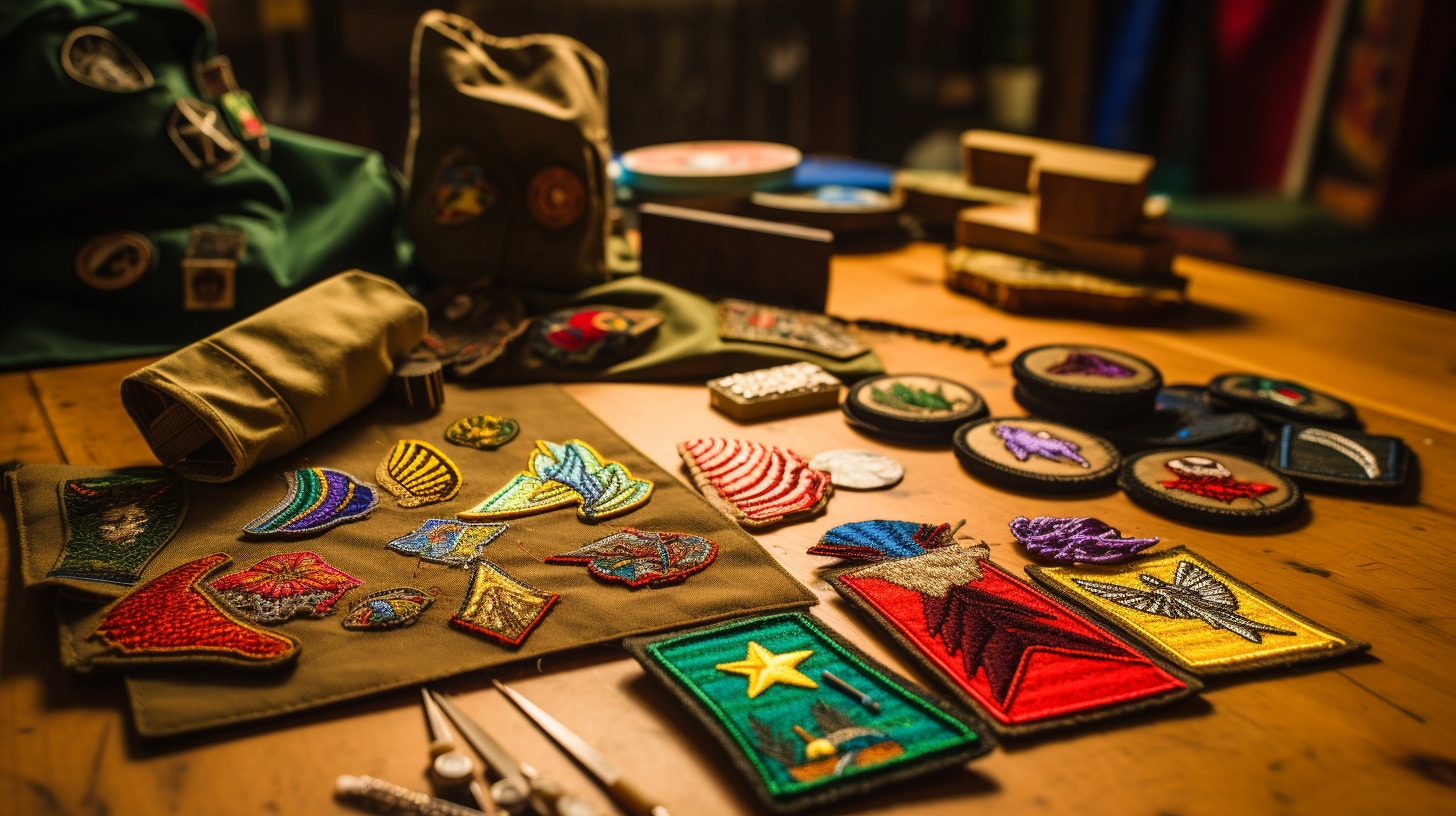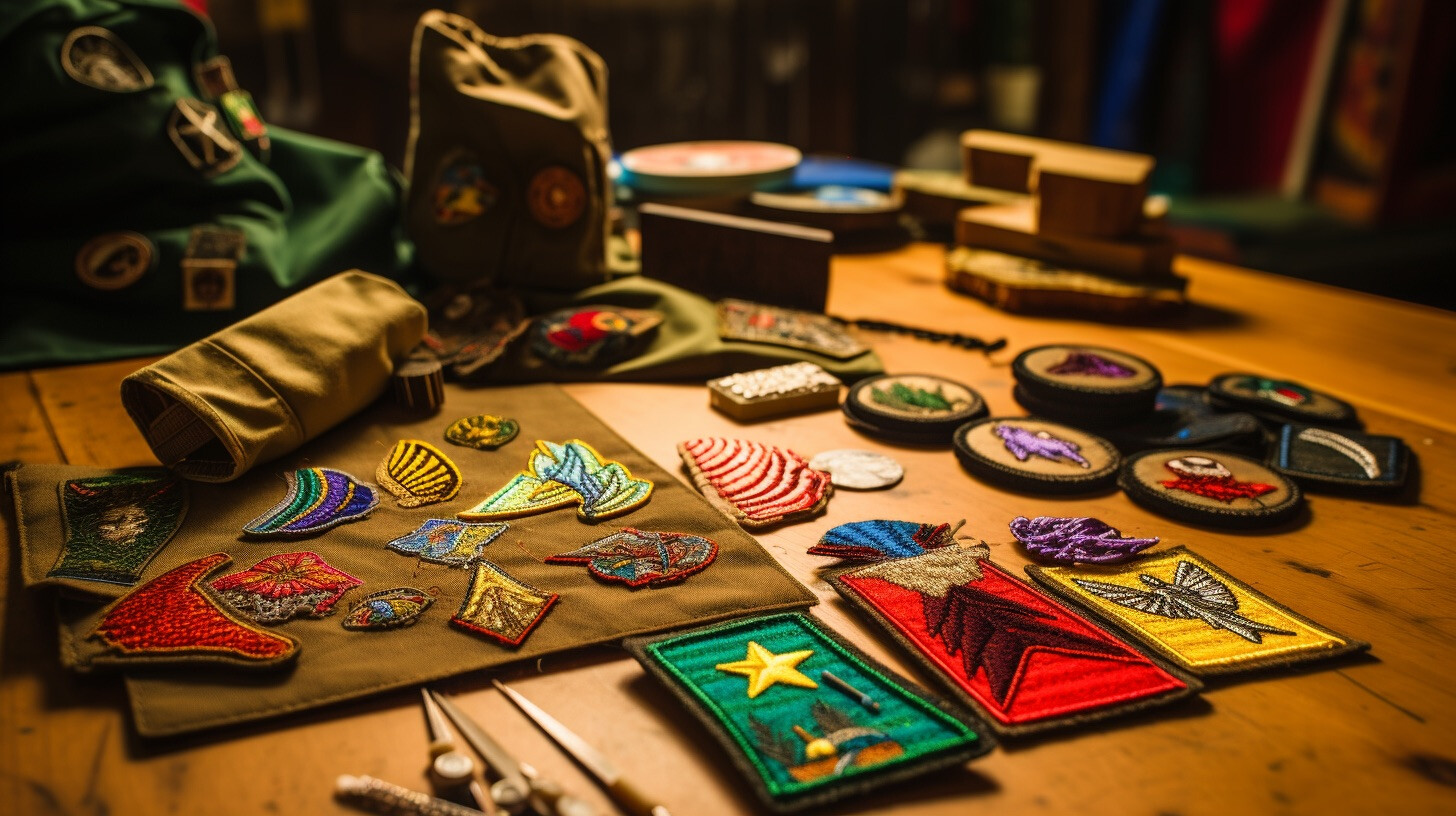

Scout patches are more than just decorative pieces. They are emblems of achievements, badges of honor, and symbols of unity. They tell tales of adventures, challenges conquered, and skills mastered. But did you know crafting these patches can be an empowering activity in itself? Dive into our comprehensive DIY guide on creating scout troop patches and equip your troop with their own bespoke symbols of pride.
1. Conceptualize Your Design: The Heart of the Patch
Begin with a brainstorming session. Encourage every member to voice their ideas. Remember, the design should encapsulate the spirit of your troop, its values, and its achievements. Patches that tell a story are not only visually appealing but also serve as memorable keepsakes.
2. Sketch It Out
Once you've settled on a concept, start with a rough sketch. It doesn't have to be perfect. At this stage, you're merely translating ideas into visual form. Pencil and paper will suffice, but digital sketches using tools like Adobe Illustrator can also be a great option if someone in the troop is tech-savvy.
3. Decide the Dimensions
The size of your patch will depend on where you intend to place it. Common placements include the arm, chest, or back of a uniform. Ensure the patch is large enough to capture all design details but not so large that it dominates the uniform.
4. Materials Matter
Gather the necessary materials:
- Fabric: Twill is the most common base material for patches due to its durability.
- Thread: Opt for sturdy, colorfast threads that won't fade over time. Remember to choose colors that contrast nicely with your twill for maximum visibility.
- Needles: A set of embroidery needles is essential.
- Embroidery hoop: This keeps the fabric taut while you work.
5. Translate Sketch to Fabric
Use a washable marker to draw your design onto the twill fabric. This serves as a guideline when you begin stitching and can easily be washed off once your patch is complete.
6. Start Stitching
Now, the fun begins. Use a basic running stitch to outline your design. This creates borders for different design elements and makes the patch visually cohesive. Once the outlines are complete, fill in the larger areas using satin stitches. Remember, patience is key. Good embroidery, like scouting, requires both skill and perseverance.
7. Add Special Touches
Consider adding beads, sequins, or even glow-in-the-dark threads for a unique touch. Such elements can highlight specific achievements or special troop events.
8. Finish It Off
Once your embroidery is complete, trim the patch to its desired shape, leaving a small margin around the edges. Then, use a whip stitch or blanket stitch to seal the borders, preventing fraying.
9. Attach and Flaunt
Sew it onto the uniform or use alternative methods like iron-ons or Velcro.
10. Celebrate Your Creation
Once the patches are ready and attached, have a small ceremony to celebrate the troop's efforts, not only in earning the badge but in creating it.
But What If DIY Isn't Your Thing?
Embroidering patches, while fulfilling, can be time-consuming and requires a particular skill set. If you're looking for professional-quality patches without the manual labor, look no further than Patches4Less.com.
Why Choose Patches4Less.com?
Quality Assured: With years of experience, they guarantee patches that are both durable and aesthetically pleasing.
Custom Designs: Send in your design, and their team will work to bring it to life with precision.
Efficient Turnaround: Get your patches delivered in no time, ready to be adorned on uniforms.
Cost-Effective: Get top-notch patches without burning a hole in your pocket.
Final Thoughts
Whether you choose a DIY patch-making session or opt for the convenience and professionalism of Patches4Less.com, the end goal is the same: a beautiful patch that symbolizes your scout troop's journey, achievements, and spirit. Choose the path that best suits your troop's needs and proudly showcase your emblem!